As a private seller, it can be challenging to sell your property, especially when potential buyers are unable to visit the property physically. In this case, a number of options are available to you, first of all you could conduct a live tour using your smartphone, you could have a 360 degree tour created, or even a pre-recorded video tour, either of these can be a game-changer when it comes to getting that offer to buy. In this article, we’ll take a look at conducting a live tour using your smartphone, which is not as complicated as it may seem, in it we’ll outline clear steps and tips to help you conduct a successful live tour.
First of all we’ll outline for you 7 steps to get you going, along with 10 tips to consider for the live tour itself.
Step 1: Test your smartphone
Ensure that your smartphone is working properly and that you have a good internet connection. Also make sure that your phone is fully charged – using your phone’s camera will run your battery down much quicker when you are in video mode. You don’t want to be in the middle of the tour and have technical issues. It’s also a good idea to have a backup phone or camera, just in case something does go wrong with your primary device. [Image: Example of someone testing their smartphone]
Step 2: Familiarize Yourself with Your Smartphone Camera
It’s essential to familiarize yourself with your smartphone camera before starting the live tour. You don’t need to be a professional photographer, but you should understand how to use the camera features such as zoom, focus, and exposure. You should also know how to switch between the front and back cameras, and how to adjust the camera settings.
Step 3: Test Your Internet Connection
Before starting the live tour, it’s essential to test your internet connection. You don’t want to have a poor connection during the tour, as it may affect the quality of the tour, and potential buyers may not get the full experience of the property. To test your internet connection, ensure that you’re in an area with strong reception and run a speed test to confirm that you have a stable internet connection.
Step 4: Plan Your Tour Route
Planning your tour route is crucial, and you should do this before starting the live tour. You want to make sure that you cover all the important areas of the property, and that potential buyers can get a clear view of everything. Start by creating a checklist of all the areas you want to cover, and arrange them in an order that makes sense. You don’t want to take potential buyers back and forth, as this may be confusing and make the tour less enjoyable. Another good idea is to do a practice run before the live tour – you could even set your phone to record but remember to leave sufficient time to recharge your phone afterward. If you wanted to practice your tour live, why not arrange with a friend to watch, or failing that contact us and we’ll see what we can do.
In resources tab, I’ve created an example using Google Slides – click the tab to view it.
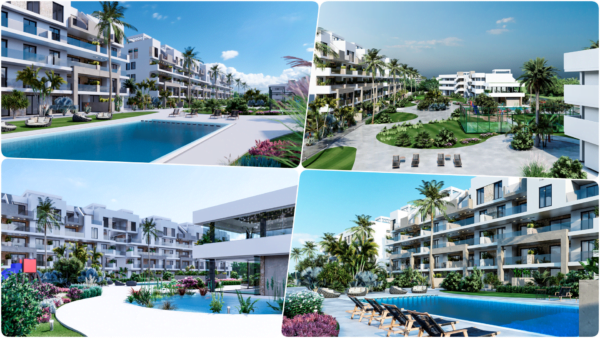
[Image: Example of a floor plan or route map]
Step 5: Choose the Right Time to Conduct the Live Tour
Choosing the right time to conduct the live tour is critical. You want to ensure that the lighting is perfect, and that the property is looking its best. If possible, conduct the tour during the daytime when there’s plenty of natural light. Avoid conducting the tour during cloudy or rainy weather, as this may affect the quality of the tour.
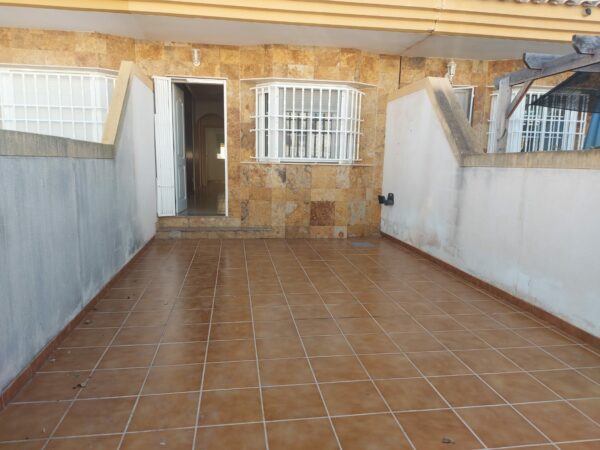
Step 6: Prepare the Property
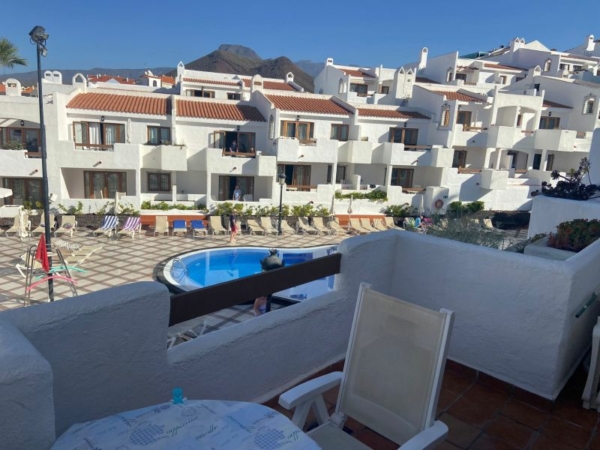
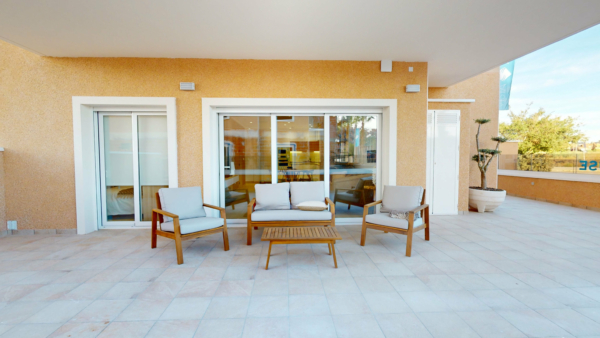
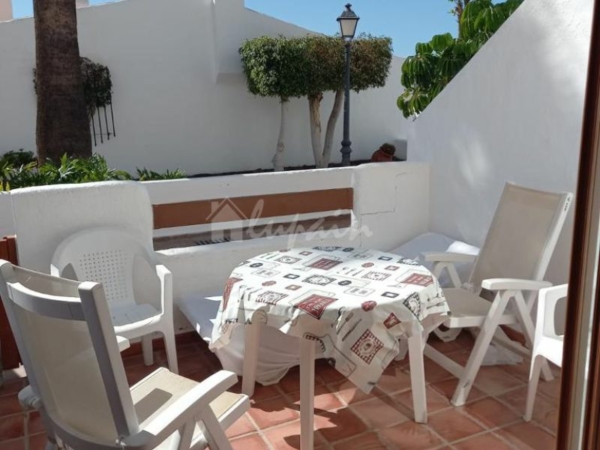
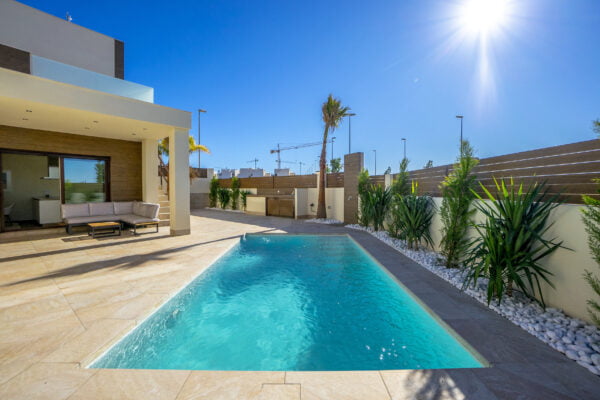
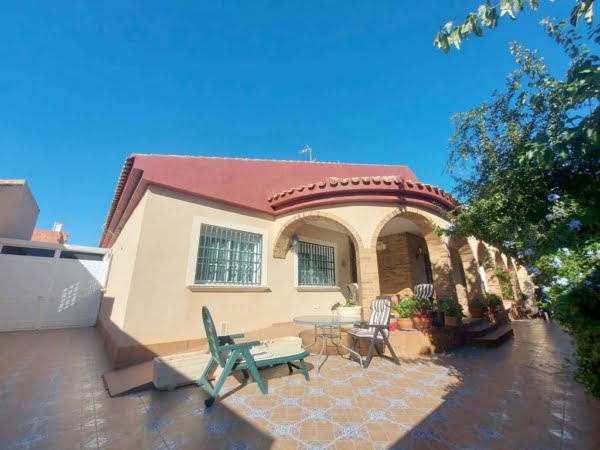
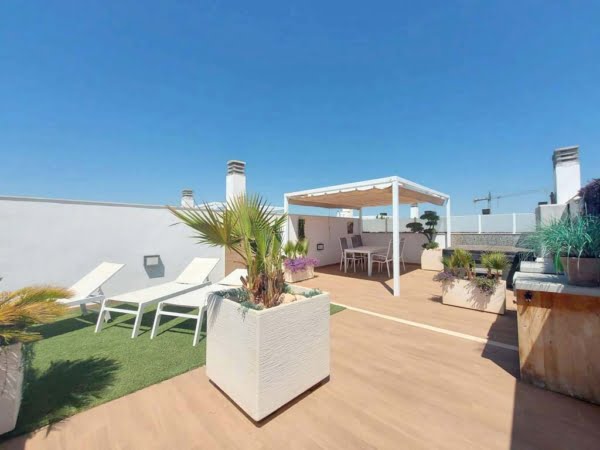
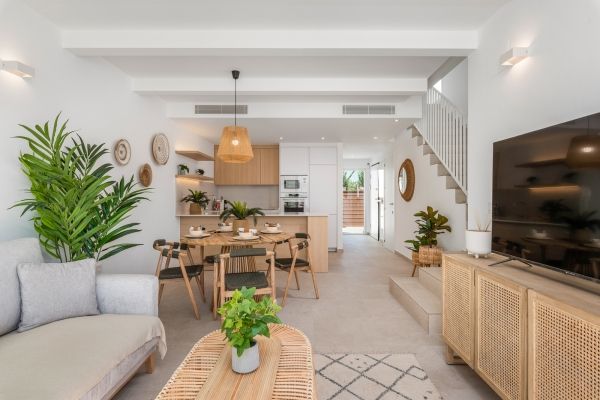
Before conducting the live tour, make sure the property is clean, tidy and well-lit. Remove any clutter, turn on all the lights and open the curtains to let in natural light. If you have a garden or outdoor area, make sure it’s presentable as well. [Image: Example of a tidy and well-lit room]
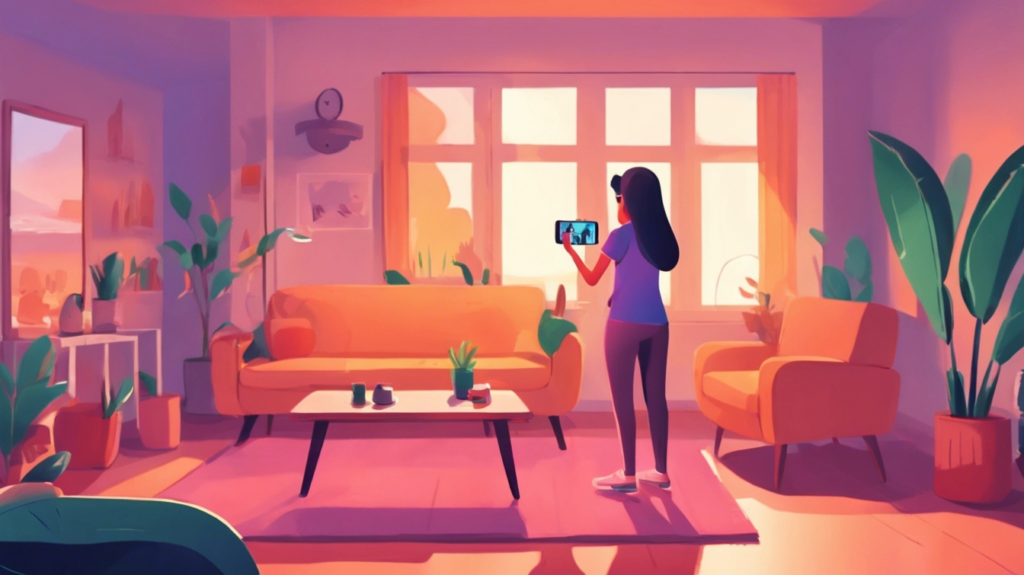
Step 7: Start the Live Tour
Once you’ve tested your internet connection, planned your tour route, familiarized yourself with your smartphone camera, chosen the right time to conduct the live tour, and prepared the property, you can start the live tour. Start by introducing yourself and giving potential buyers a brief overview of the property. Then, start the tour, and remember to follow the tour route you’ve planned. As you conduct the tour, describe the property’s features and answer any questions that potential buyers may have.
Tips for Conducting a Successful Live Tour Using Your Smartphone
- Speak clearly and concisely – ensure that you’re speaking clearly and concisely so that potential buyers can understand what you’re saying.
- Keep the camera steady – ensure that the camera is steady, and that you’re not shaking or moving it too much. This may affect the quality of the tour, and potential buyers may not get the full experience. You could consider using a tripod or phone gimbal to help with this otherwise move your camera slowly/smoothly, remembering to pan to the left and right as well as up and down where appropriate.
- Focus on the details – During the tour, make sure to highlight the property’s best features. This could be anything from a stunning view to a unique architectural detail. Be enthusiastic about the property and showcase its best features. If you’re excited about the property, potential buyers may be more interested in it. This may help potential buyers to visualize themselves living in the property too! Don’t forget you can also zoom in and zoom out – this is usually achieved by drawing your finger and thumb together or apart on the phone screen.
- Be enthusiastic – Be enthusiastic about the property and showcase its best features. If you’re excited about the property, potential buyers may be more interested in it
- Take your time – Take your time during the tour and don’t rush through it. Potential buyers may want to take a closer look at certain areas, so ensure that you’re giving them enough time to do so. It’s better to take a little longer and give a thorough tour than to rush through it and potentially miss something important.
- Be patient – Be patient during the tour, and don’t get frustrated if potential buyers ask questions or want to see certain areas again. Remember, they’re not there in person, so they may need a little more guidance or clarification. It’s important to be polite and understanding throughout the tour.
- Check the audio – Before starting the tour, check the audio on your smartphone to ensure that potential buyers can hear you clearly. Speak clearly and loudly, and make sure you’re not too far away from the microphone. It’s also a good idea to wear headphones with a built-in microphone or bluetooth handsfree device, as this will improve the audio quality. Additionally it will prevent feeding back your buyers questions to your phone’s microphone which makes things sound echoey or may even result in feedback. If you don’t have this, when your buyer begins to speak mute your microphone until you are ready to respond.
- Use natural light – Use natural light whenever possible to showcase the property’s best features. This means opening the curtains and blinds to let in as much light as possible. If a room is particularly dark, try using a lamp or turning on additional lights. Good lighting can make a big difference in how the property looks on camera.
- Use the front camera for introductions – Use the front camera on your smartphone to introduce yourself before switching to the back camera for the tour. This will help to establish a personal connection with potential buyers, and make the tour feel more authentic. When touring your property make sure you have switched to the rear facing camera, you can use your phone’s screen to see where you are filming. Your rear facing camera is also usually of better quality.
- Have someone else available – If possible, have someone else available to help you with the tour. They can help you with the camera, and answer any questions that potential buyers may have. This could be a friend or family member. Having someone else available will make the tour run more smoothly, and give you more confidence during the process.
Alternative: 360 Tour Upgrade
While conducting a live tour using your smartphone can be an excellent way to showcase your property, some potential buyers may still prefer a more immersive experience. That’s where our 360 tour upgrade comes in. A 360 tour allows potential buyers to view your property from all angles, as if they were physically there. It’s a great way to give potential buyers a sense of the property’s layout and design.
To upgrade to our 360 tour, simply contact us, and we’ll arrange for a professional photographer to come to your property to take the necessary photos. Once the photos have been taken, we’ll create the 360 tour, which you can then add to your property listing.
Conclusion
Conducting a live tour using your smartphone is an excellent way to showcase your property to potential buyers who are unable to visit it physically. By following the steps and tips outlined in this article, you can conduct a successful live tour and increase your chances of selling your property. And if you want to take it to the next level, consider upgrading to our 360 tour to give potential buyers an even more immersive experience.
This is an example created in Google Slides of tour planning. We started off with some of the key points down the left hand side of the slide, and then created some linked boxes to show the flow. We duplicated the first slide and then adjusted each slide to fit the part of the tour. If you wish, you can take a copy of this resource to your own Google Docs and amend it to your own needs, or if you have Powerpoint, it’s easy to create something similar. Or, for the pen and paper aficionados, just draw out your tour on paper and have it to hand when you conduct your tour.
To take a copy in Google Slides, click where it says ‘Google Slides’ at the bottom right, this will open in a new window and should allow you to save a copy in your own Google account.